👋
Welcome to Guidehealth!
Let's get your workstation set up before Day 1
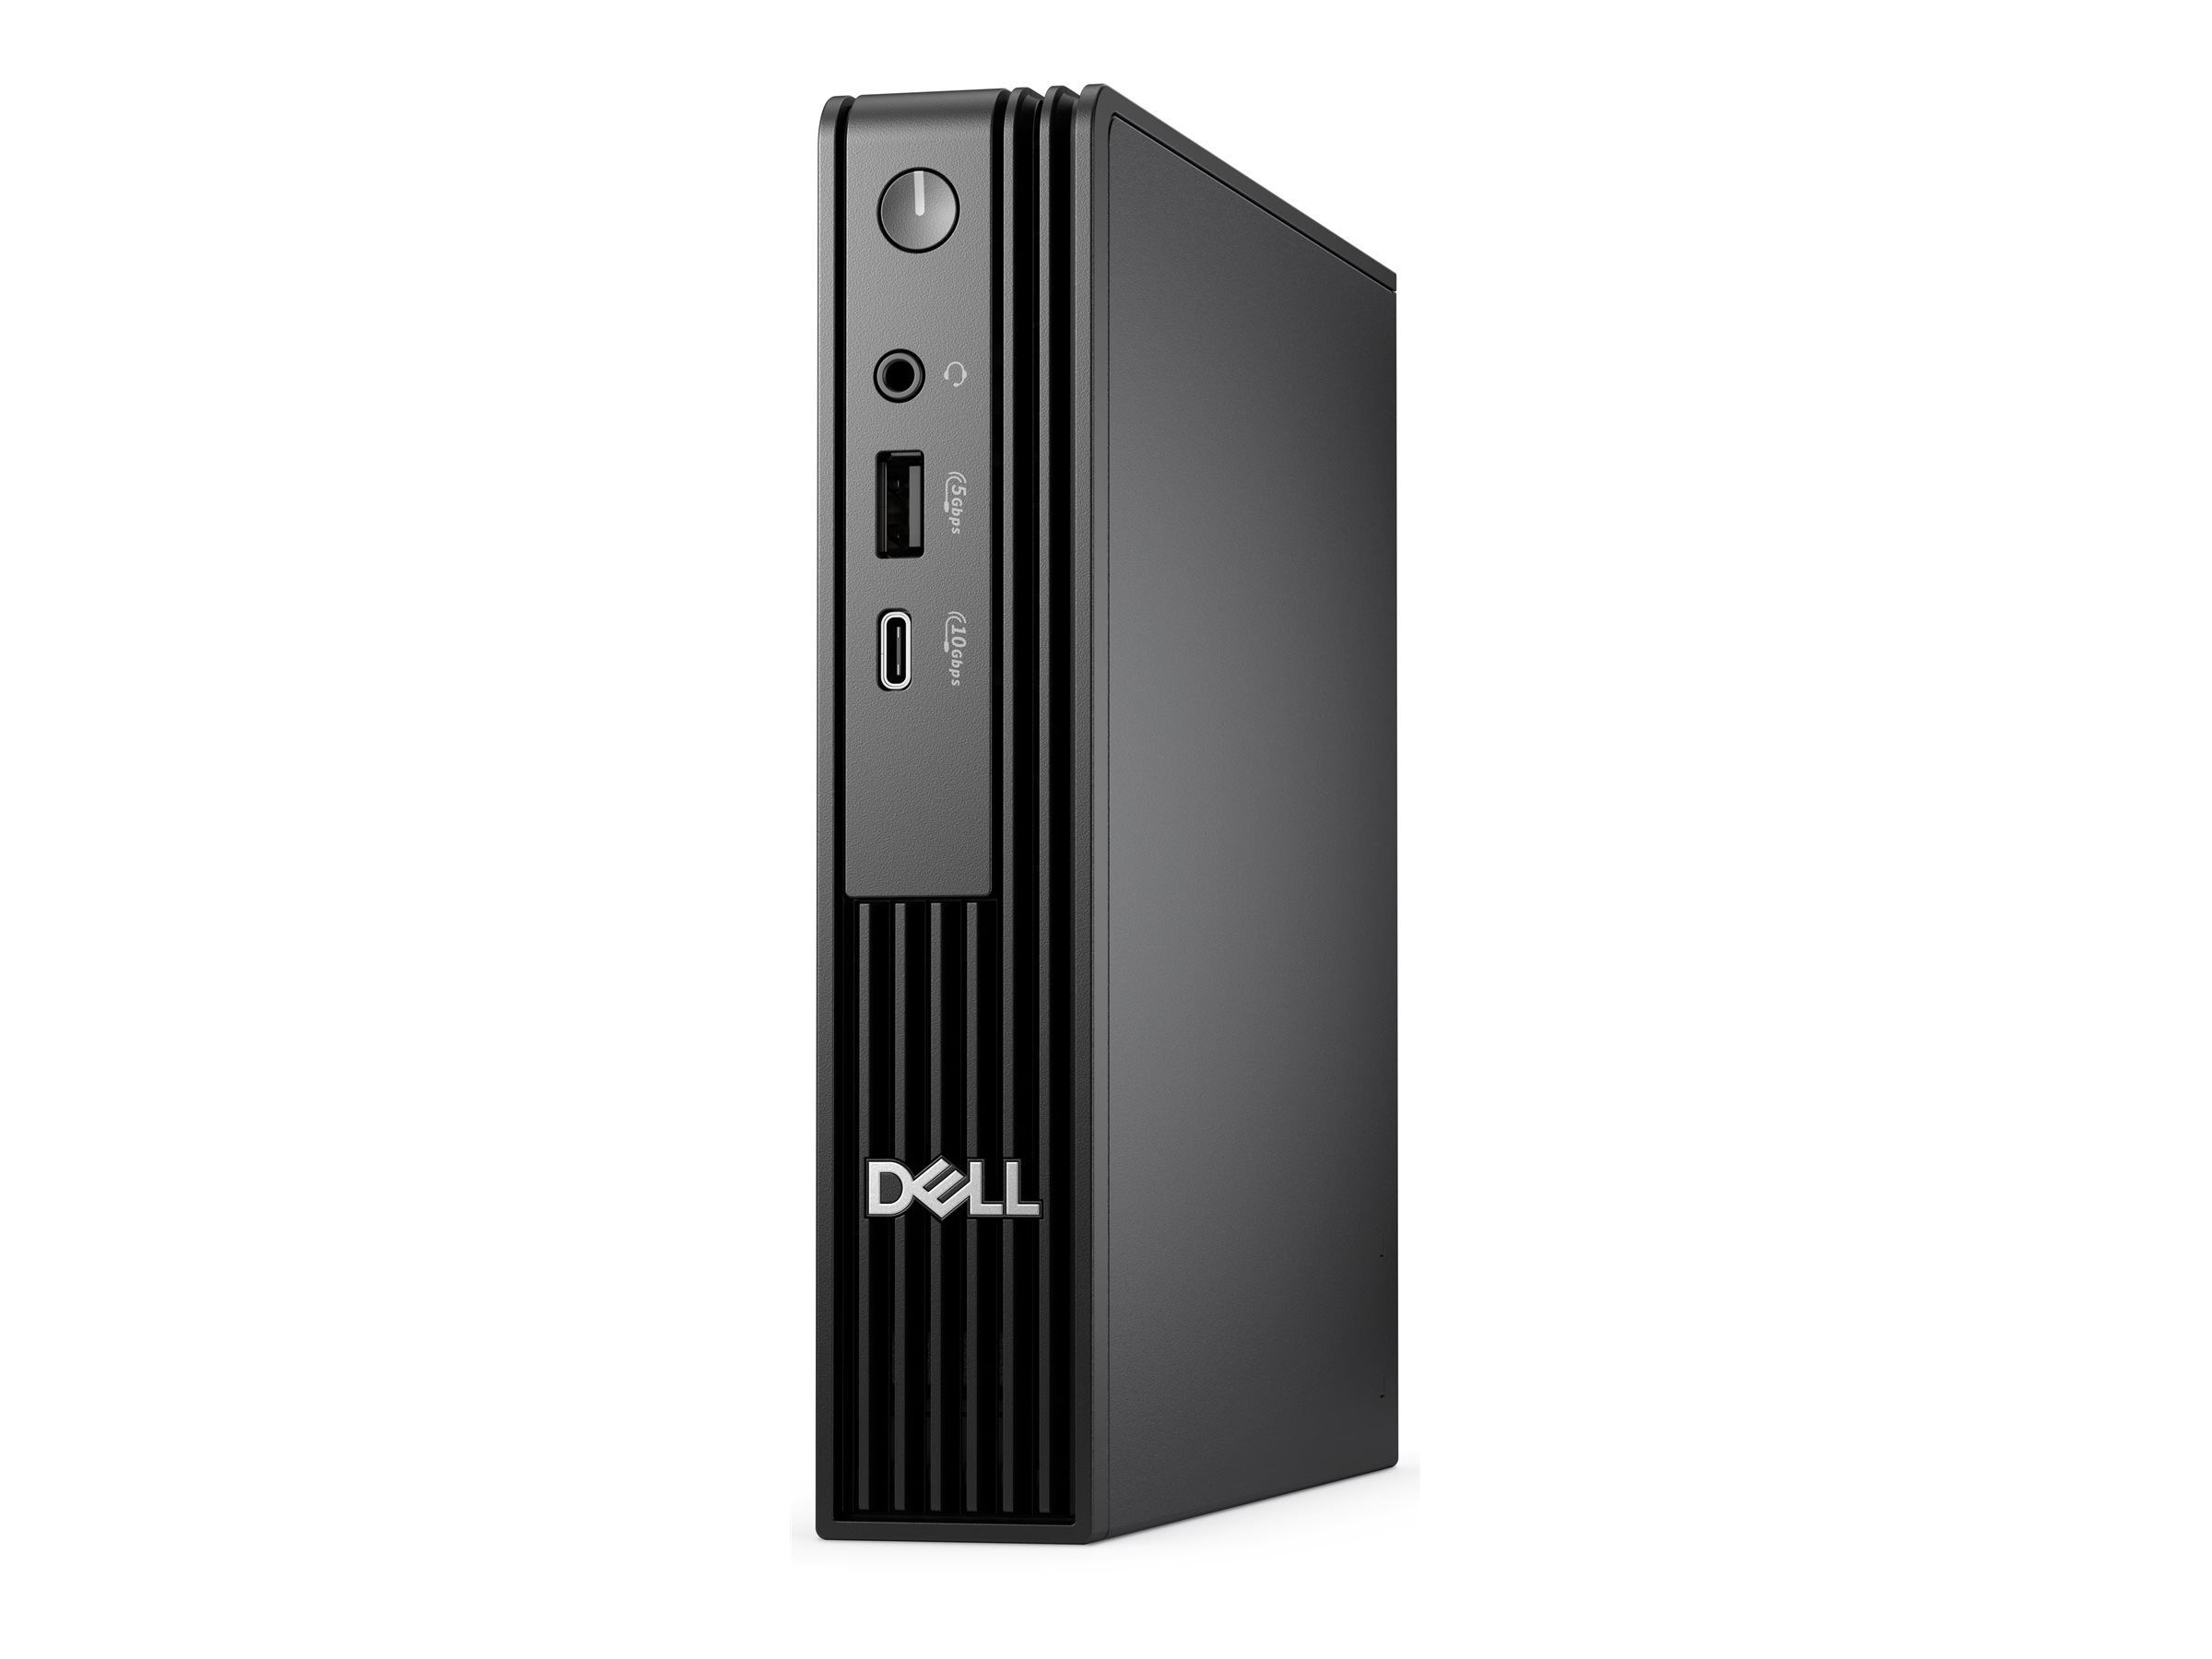
Dell Pro Micro QCM1250
Mini desktop PC
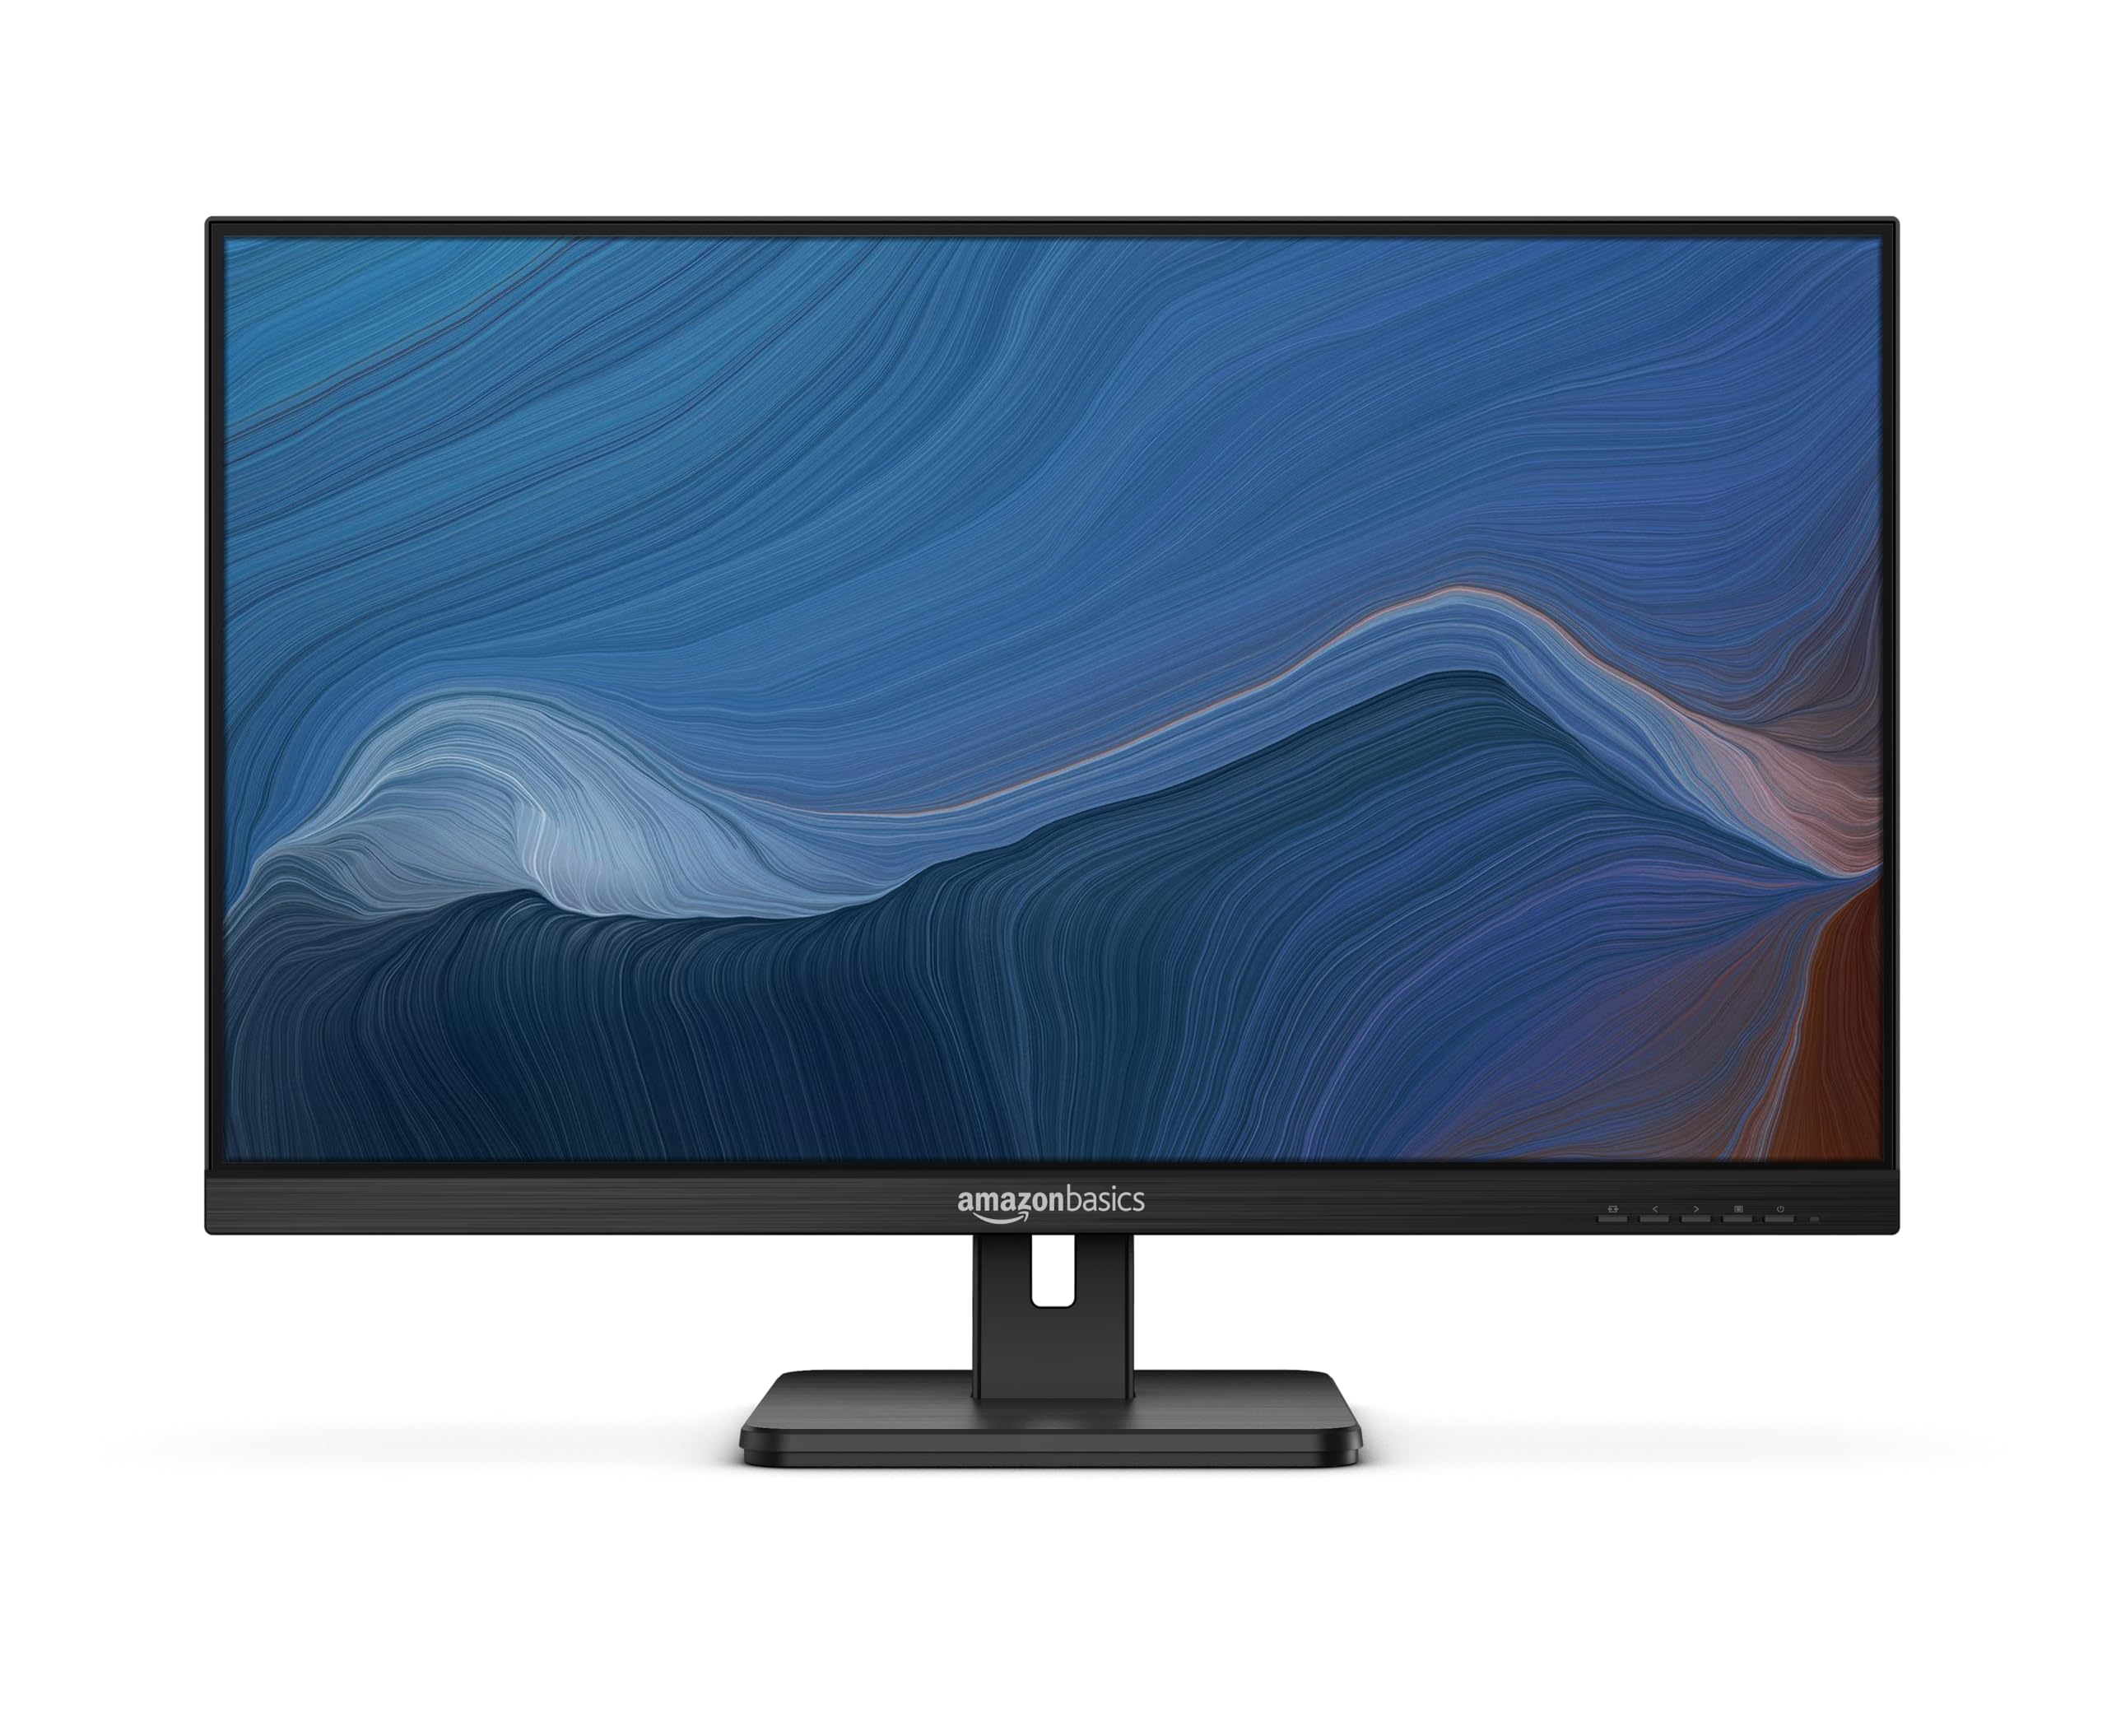
Amazon Basics IPS Monitor
×2 — HDMI + DisplayPort
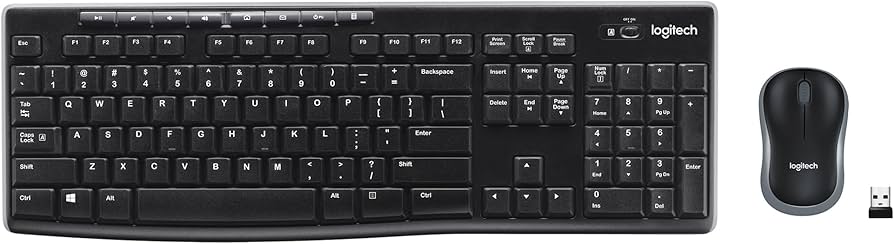
Logitech MK270
Wireless keyboard & mouse
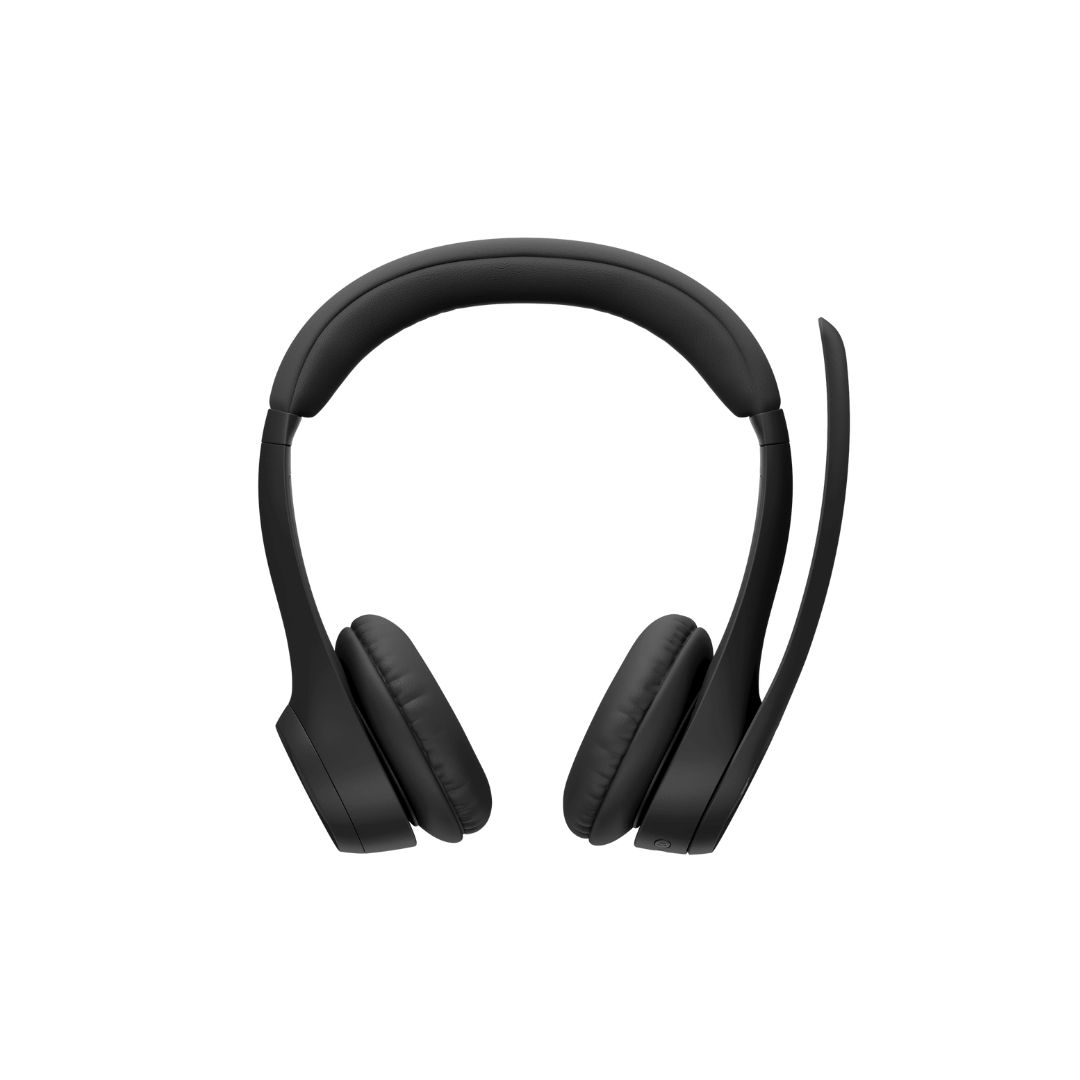
Logitech Zone 305
Wireless Bluetooth headset
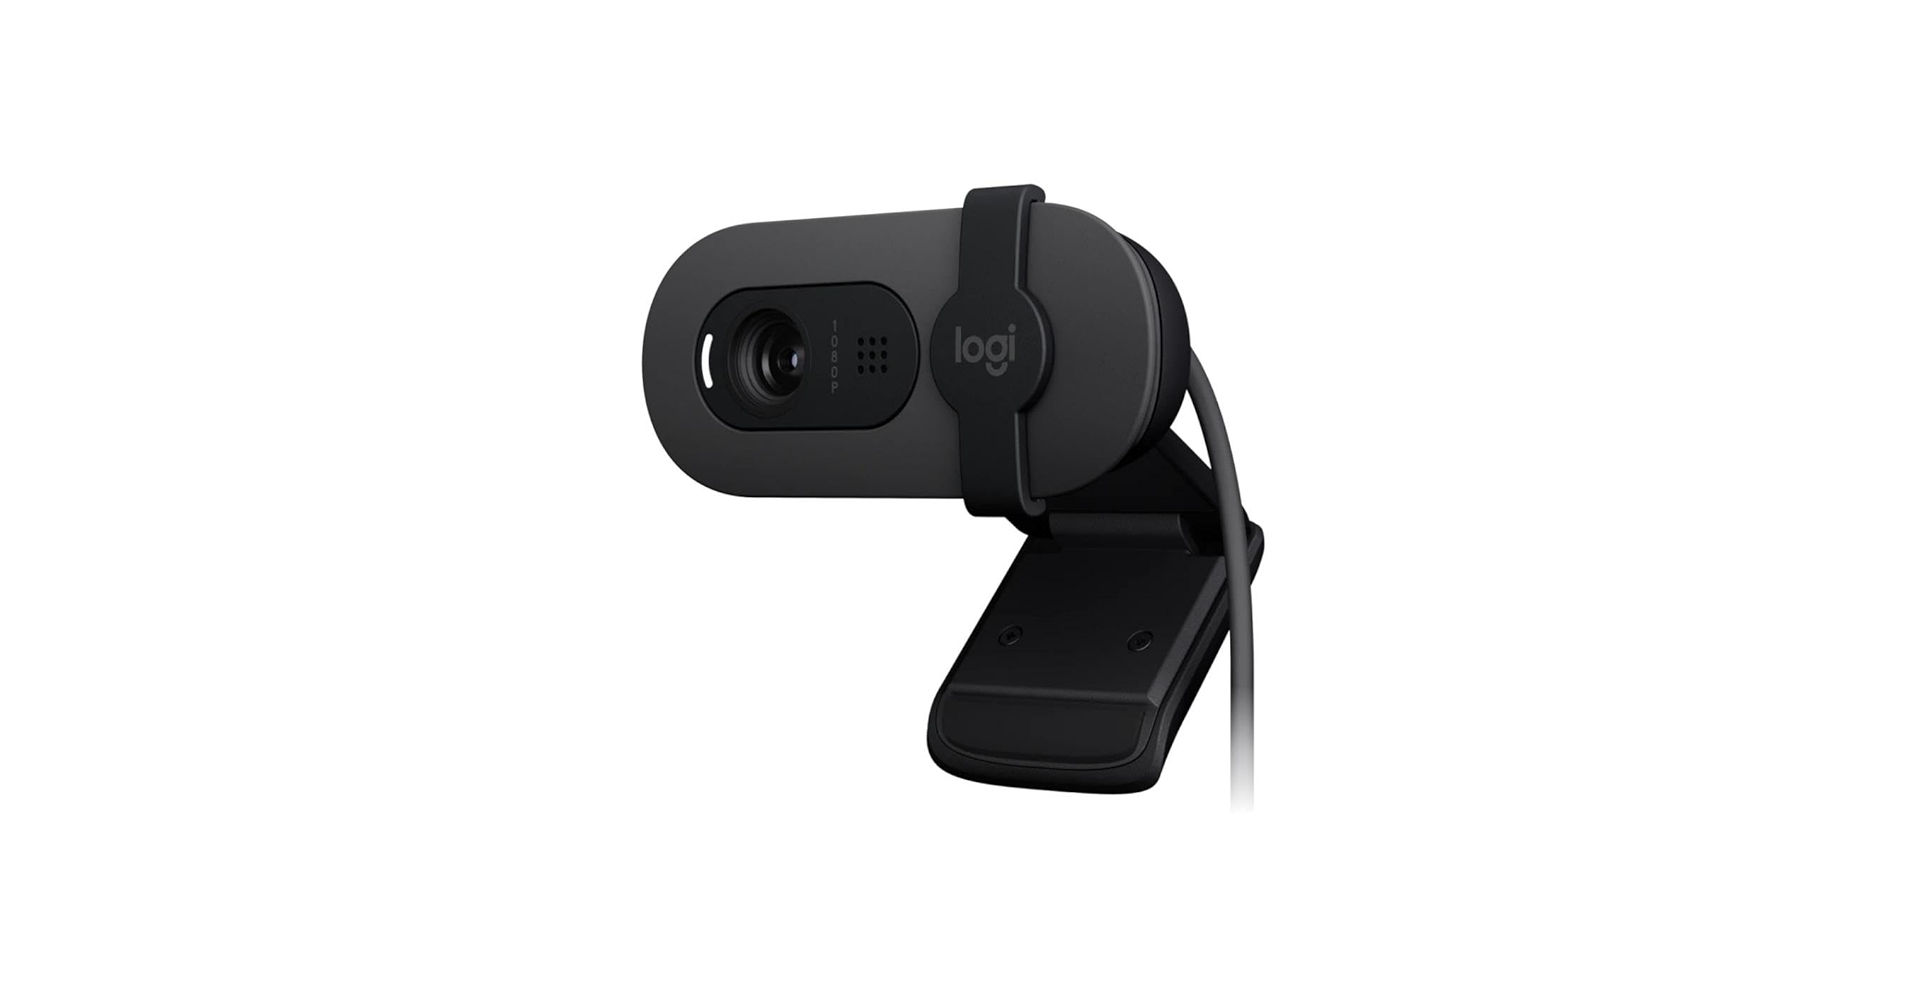
Logitech Brio 105
Full HD USB webcam
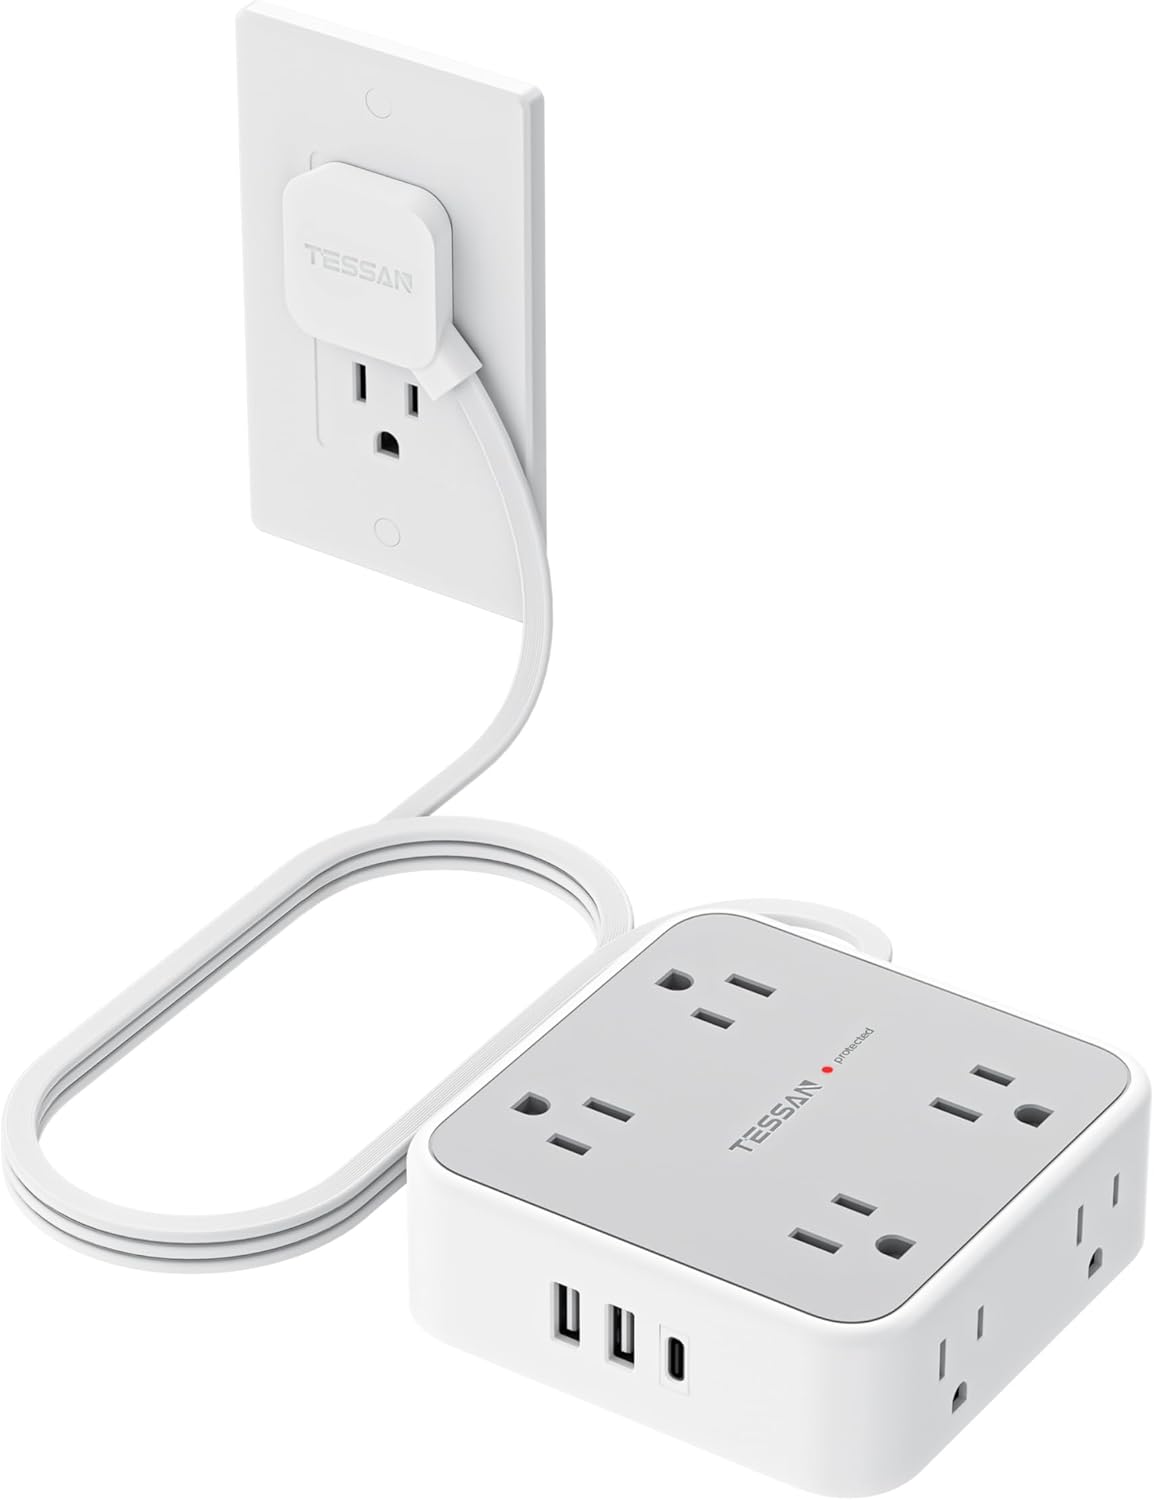
Tessan Power Strip
Surge-protected multi-outlet
Your complete workstation kit — follow the steps below to get set up before Day 1
Check your internet speed first!
Minimum: 100 Mbps download · 10 Mbps upload — click to test at fast.com
→
1
Connect Your Monitors
Dell Pro Micro QCM1250 · 2× Amazon Basics IPS Monitor · DisplayPort + HDMI
Monitor 1
HDMI
⟶
Dell Pro Micro QCM1250
HDMI + DP BACK
⟶
Monitor 2
DisplayPort
Click a step below to highlight each connection
Connect Monitor 1 via HDMI
Plug the HDMI cable from Monitor 1 into the HDMI port on the back of the Dell Pro Micro.
▶ TAP TO ANIMATE
Connect Monitor 2 via DisplayPort
Plug the DisplayPort cable from Monitor 2 into the DP port on the back of the Dell Pro Micro.
▶ TAP TO ANIMATE
Plug in monitor power cables
Connect both monitor power cables to the Tessan power strip, then flip the strip's power switch on.
Connect PC power & power on
Connect the power adapter to the Dell Pro Micro and plug it into the power strip. Press the power button!
2
Connect Keyboard & Mouse
Logitech MK270 — USB receiver (plug & play)
Logitech MK270
USB Nano Receiver
⟶
Dell Pro Micro
Any USB Port
Plug the Nano USB receiver into any USB port — keyboard & mouse pair wirelessly at 2.4GHz
Find the Nano USB receiver
It's the tiny USB dongle stored in the battery compartment of the mouse. Remove it before inserting batteries.
Plug Nano receiver into USB port
Insert the Nano USB receiver into any USB port on the back of the Dell Pro Micro.
Insert batteries & power on
Insert AA batteries into the keyboard and mouse. Slide the power switches to ON on the underside of each.
They connect automatically!
No drivers needed — the MK270 uses Logitech Unifying. They'll connect as soon as you power on the PC.
3
Mount Your Webcam
Logitech Brio 105 — USB plug & play
Logitech Brio 105
USB-A Cable
⟶
Top of Monitor
Clip flush to screen
Clip the Brio 105 on top of your monitor, then run the USB cable to the Dell Pro Micro
Place on monitor top
Set the webcam on top of your primary monitor, centered. The adjustable clip should rest flush against the back of the screen.
Secure the mount
Tilt the camera slightly downward toward your face. The leg mount should grip the monitor firmly — no wobble.
Plug in USB
Connect the USB cable to any available USB port on the back of the Dell Pro Micro. No drivers needed — plug and play!
4
Pair Your Wireless Headset
Logitech Zone 305 — Bluetooth pairing
Logitech Zone 305
Hold Power 2s
📡
Dell Pro Micro
Bluetooth
Click each step below to walk through Bluetooth pairing
Enter Bluetooth pairing mode
Press and hold the power button (not the call button) for ~2 seconds until the LED starts blinking.
▶ TAP TO ANIMATE
LED blinks blue — broadcasting
The LED on the headset will blink blue rapidly, meaning it's in pairing mode and broadcasting for your PC to find.
▶ TAP TO ANIMATE
Add device in Windows Bluetooth
Go to Settings → Bluetooth & devices → Add Device. Select "Logitech Zone 305" from the list and click Connect.
▶ TAP TO ANIMATE
Connected! LED goes solid blue
Once paired, the LED shows solid blue. You'll hear a chime confirming the connection. You're good to go!
You're all set!
Your workstation is ready for Day 1. Here's who to call if you need help.
FOCUS TECHNOLOGIES
Guidehealth's tech support
📧 support@focustsi.com
📞 877.303.0480
Mon–Fri 5AM–7PM ET
💬 focustsi.com
GUIDEHEALTH ONBOARDING
Questions about your start?
📧 onboarding@guidehealth.com
We're excited to have you on the team!